This topic describes how to implement single sign-on (SSO) to applications in Service Mesh (ASM).
Prerequisites
An ASM instance of Enterprise Edition is created. For more information, see Create an ASM instance.
An ACK managed cluster is created. For more information, see Create an ACK managed cluster.
The cluster is added to the ASM instance. For more information, see Add a cluster to an ASM instance.
Automatic sidecar injection is enabled for the default namespace. For more information, see Enable automatic sidecar proxy injection.
Background information
In most cases, you must log on to access an application due to the access control mechanism. A system may have many applications. SSO allows you to access all these applications with a single set of logon credentials. You can submit credentials once and get access to all the applications in an ASM instance by using the custom authorization service with zero code modification.
This feature helps reduce the costs of application transformation and O&M. In this example, an Alibaba Cloud IDaaS instance is used as the identity provider (IdP) to implement SSO to all the applications in an ASM instance. You do not need to implement authentication mechanisms for applications in the mesh. Instead, you can delegate authentication to an IdP by registering an Alibaba Cloud IDaaS instance or any OpenID Connect (OIDC) IdP in a custom authorization service in ASM. After users are authenticated by the IdP, the IdP sends authentication details and user requests to applications so that the trusted users can access the applications.
Concepts
Concept | Description |
IdP | An IdP is a system that stores and verifies digital identities. For example, you can use an account and password to verify your identity. If you use an Alipay account and password to log on to Youku, Alipay is the IdP. |
OIDC | OIDC is a standard identity authentication protocol based on the OAuth 2.0 protocol. For more information, see the OpenID official website. |
Scope | Scope is a concept in OIDC. Each IdP stores various types of user information, such as email address. Each type corresponds to a scope. When you use an IdP to verify your identity to access an application, the application is allowed to obtain only the specified types of information. |
Step 1: Create an IDaaS instance and a test account
Log on to the IDaaS console and create an IDaaS instance.
An IDaaS instance is considered as an independent account system.
On the IDaaS tab of the EIAM page, click the ID of the IDaaS instance.
In the left-side navigation pane, choose .
On the Accounts tab of the Accounts page, click Create User.
In the Create User panel, configure the parameters and click Confirm.
Step 2: Add and configure an OIDC application
You can add an application to the IDaaS instance as an interface to expose the IDaaS instance to implement SSO. IDaaS supports various types of applications. In this example, an OIDC application is used.
In the left-side navigation pane on the details page of the IDaaS instance, click Applications.
On the Applications page, click Add Application.
On the Add Application page, click the Standard Protocols tab. In the OIDC card, click Add Application.
In the Add Application - OIDC dialog box that appears, enter an application name and click Add.
On the details page of the OIDC application, click Sign-in and then click the SSO tab.
On the SSO tab, set Redirect URIs. Click Show Advanced Settings. In the scopes section, select the types of information that the application can obtain. Then, click Save.
NoteIn this example, set the Redirect URIs parameter to
http://${IP address of the CLB instance that is bound to the ingress gateway}/oauth2/callback. Replace the${}placeholder with the actual IP address of the SLB instance bound to the ingress gateway.On the details page of the OIDC application, click Sign-in and then click the Grant Application Permissions tab. On the Grant Application Permissions tab, click Authorize.
In the Authorize dialog box, authorize the account that you created in Step 1 and click Confirm.
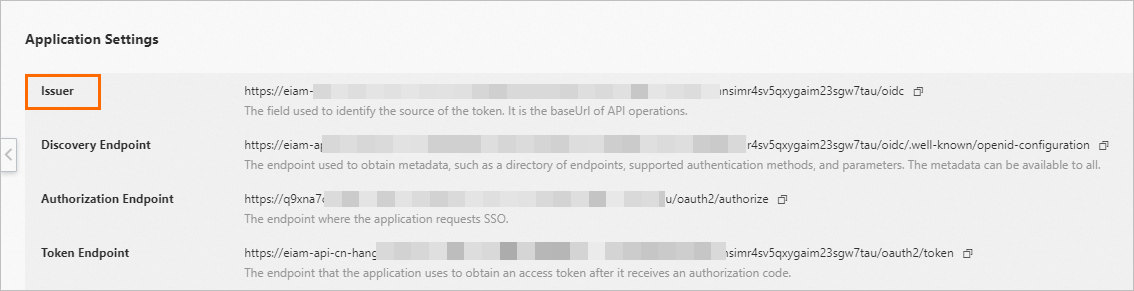
The OIDC application is configured. Record the values of Issuer, client_id, and client_secret of the application. The values will be used when you configure SSO in the ASM instance.
Issuer: To obtain the value of Issuer, navigate to the SSO tab on the details page of the OIDC application, and view the Application Settings section.
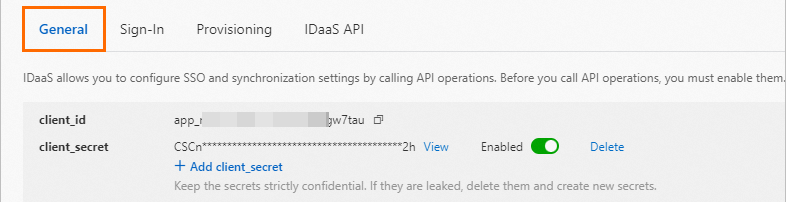
client_id and client_secret: To obtain the values of client_id and client_secret, go to the General tab on the details page of the OIDC application.
Step 3: Deploy a test application and expose it by using the ingress gateway
In this example, an httpbin application is deployed. The application allows you to view the request content that contains information obtained from the IdP during the logon authentication.
Create a YAML file that contains the following content to deploy an httpbin application in the default namespace of the ACK cluster:
apiVersion: v1
kind: ServiceAccount
metadata:
  name: httpbin
---
apiVersion: v1
kind: Service
metadata:
  name: httpbin
  labels:
    app: httpbin
    service: httpbin
spec:
  ports:
  - name: http
    port: 8000
    targetPort: 80
  selector:
    app: httpbin
---
apiVersion: apps/v1
kind: Deployment
metadata:
  name: httpbin
spec:
  replicas: 1
  selector:
    matchLabels:
      app: httpbin
      version: v1
  template:
    metadata:
      labels:
        app: httpbin
        version: v1
    spec:
      serviceAccountName: httpbin
      containers:
      - image: docker.io/kennethreitz/httpbin
        imagePullPolicy: IfNotPresent
        name: httpbin
        ports:
        - containerPort: 80
Create a YAML file that contains the following content to configure an Istio gateway for the ASM instance: For more information, see Manage Istio gateways.
apiVersion: networking.istio.io/v1beta1
kind: Gateway
metadata:
  name: ingressgateway
  namespace: istio-system
spec:
  selector:
    app: istio-ingressgateway
  servers:
    - hosts:
        - '*'
      port:
        name: http
        number: 80
        protocol: HTTP
Create a YAML file that contains the following content to create a virtual service for the ASM instance. For more information, see Manage virtual services.
The virtual service specifies a default route to the httpbin application.
apiVersion: networking.istio.io/v1beta1
kind: VirtualService
metadata:
  name: ingressgateway-vs
  namespace: istio-system
spec:
  gateways:
    - ingressgateway
  hosts:
    - '*'
  http:
    - name: default
      route:
        - destination:
            host: httpbin.default.svc.cluster.local
            port:
              number: 8000
Run the
curl -I http://${IP address of the ingress gateway:80}command to access the httpbin application.Sample output:
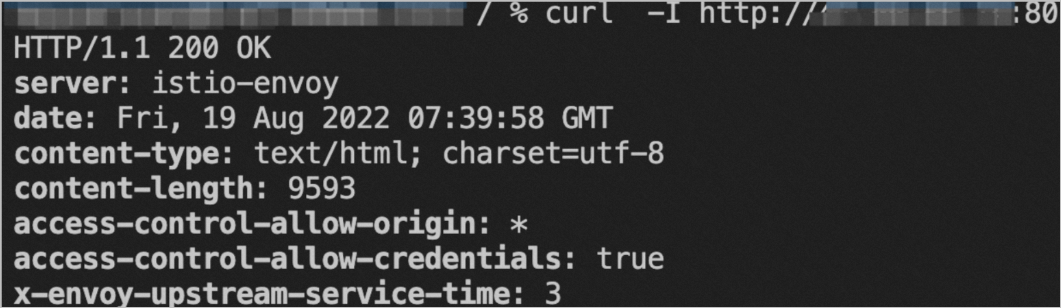
Step 4: Register a custom authorization service and configure OIDC SSO in the ASM instance
Log on to the ASM console. In the left-side navigation pane, choose .
On the Mesh Management page, click the name of the ASM instance. In the left-side navigation pane, choose . On the page that appears, click Define Custom Authorization Service.
On the Register Custom Authorization Service page, click the OIDC Authz and Authn Service tab, configure the parameters, and then click Create.
Configure the parameters based on the information of the OIDC application that you created in Step 2. You can redirect a logon attempt to the IP address of the ingress gateway. For more information about cookie secrets, see Generating a Cookie Secret.
Use the kubeconfig file to connect to the ACK cluster on the data plane, and run the following command to obtain the domain name of the OIDC authorization service:
kubectl get svc -n istio-system|grep oauth2proxy|awk -F' ' '{print $1}'Create a virtual service to receive authentication requests from the ingress gateway. The following sample code shows how to create the virtual service.
apiVersion: networking.istio.io/v1beta1 kind: VirtualService metadata: name: oauth2-vs namespace: istio-system spec: gateways: - ingressgateway hosts: - '*' http: - match: - uri: prefix: /oauth2 name: oauth2 route: - destination: host: # The domain name of the OIDC authorization service, which you obtained in the preceding step. port: number: 4180ImportantDo not set the matching prefix to
/oauth2in the routing rules defined by other virtual services. This prevents conflicts between virtual services.
Step 5: Create an authorization policy
On the details page of the ASM instance, choose in the left-side navigation pane. On the page that appears, click Create from YAML.
On the Create page, select the istio-system namespace, select a template, specify the following YAML code in the code editor, and then click Create.
apiVersion: security.istio.io/v1beta1 kind: AuthorizationPolicy metadata: name: oidc namespace: istio-system spec: action: CUSTOM provider: name: httpextauth-oidc # The name of the authorization service that you registered in Step 4. rules: - {} selector: matchLabels: istio: ingressgatewayNoteThis authorization policy applies to all the requests that are sent to the ingress gateway.
Step 6: Verify SSO
Visit http://${IP address of the ingress gateway:80} in a browser.
If the following page appears, it indicates that SSO takes effect.
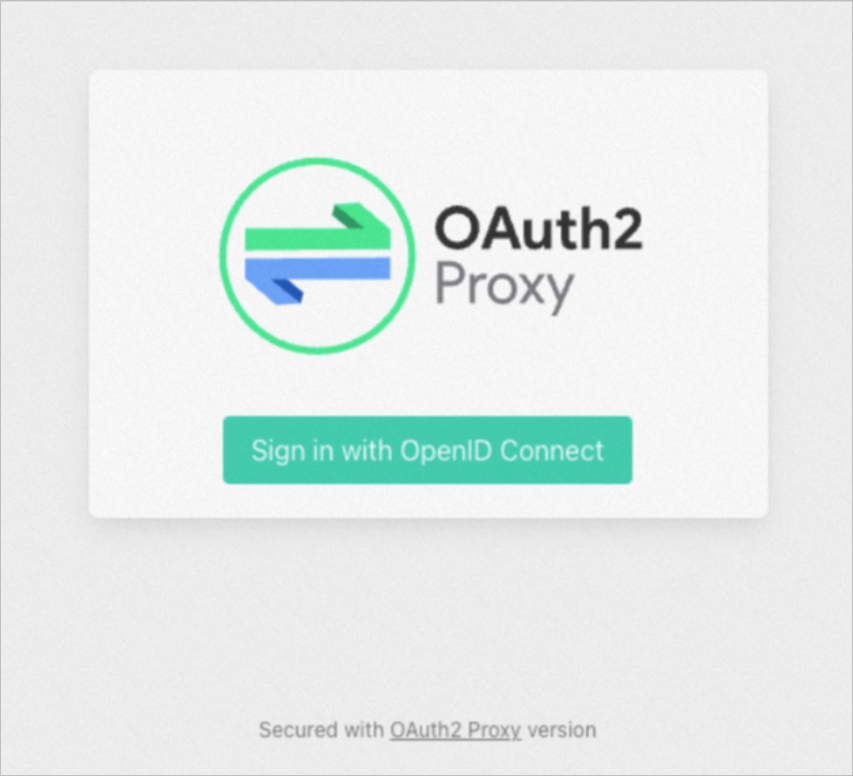
Click Sign in with OpenID Connect.
Expected result:
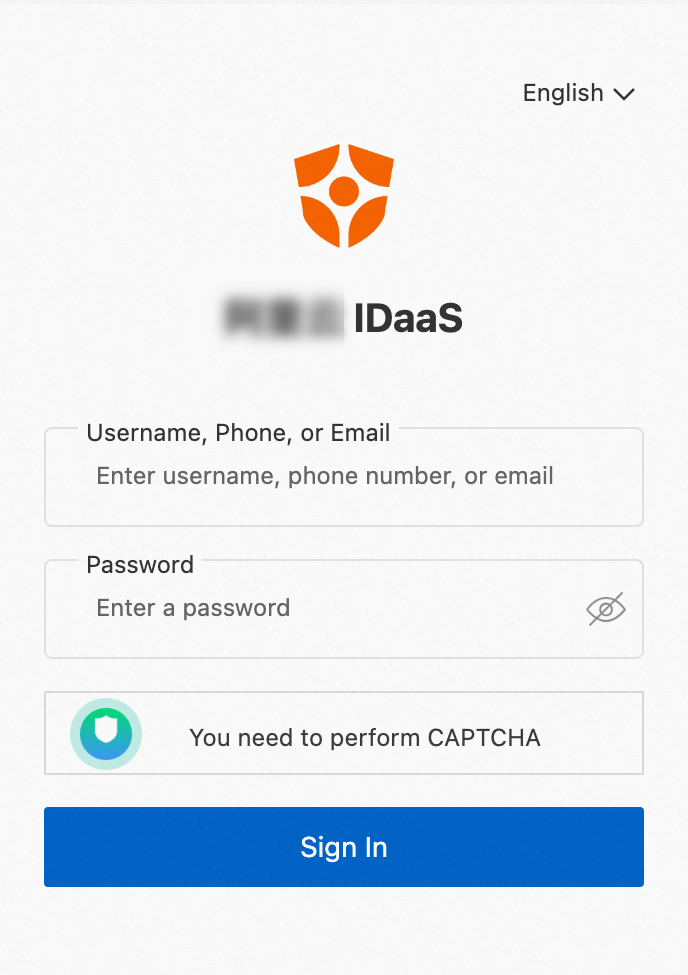
On the logon page of Alibaba Cloud IDaaS, enter the test account and password that you created in Step 1, and click Log On.
Expected result:
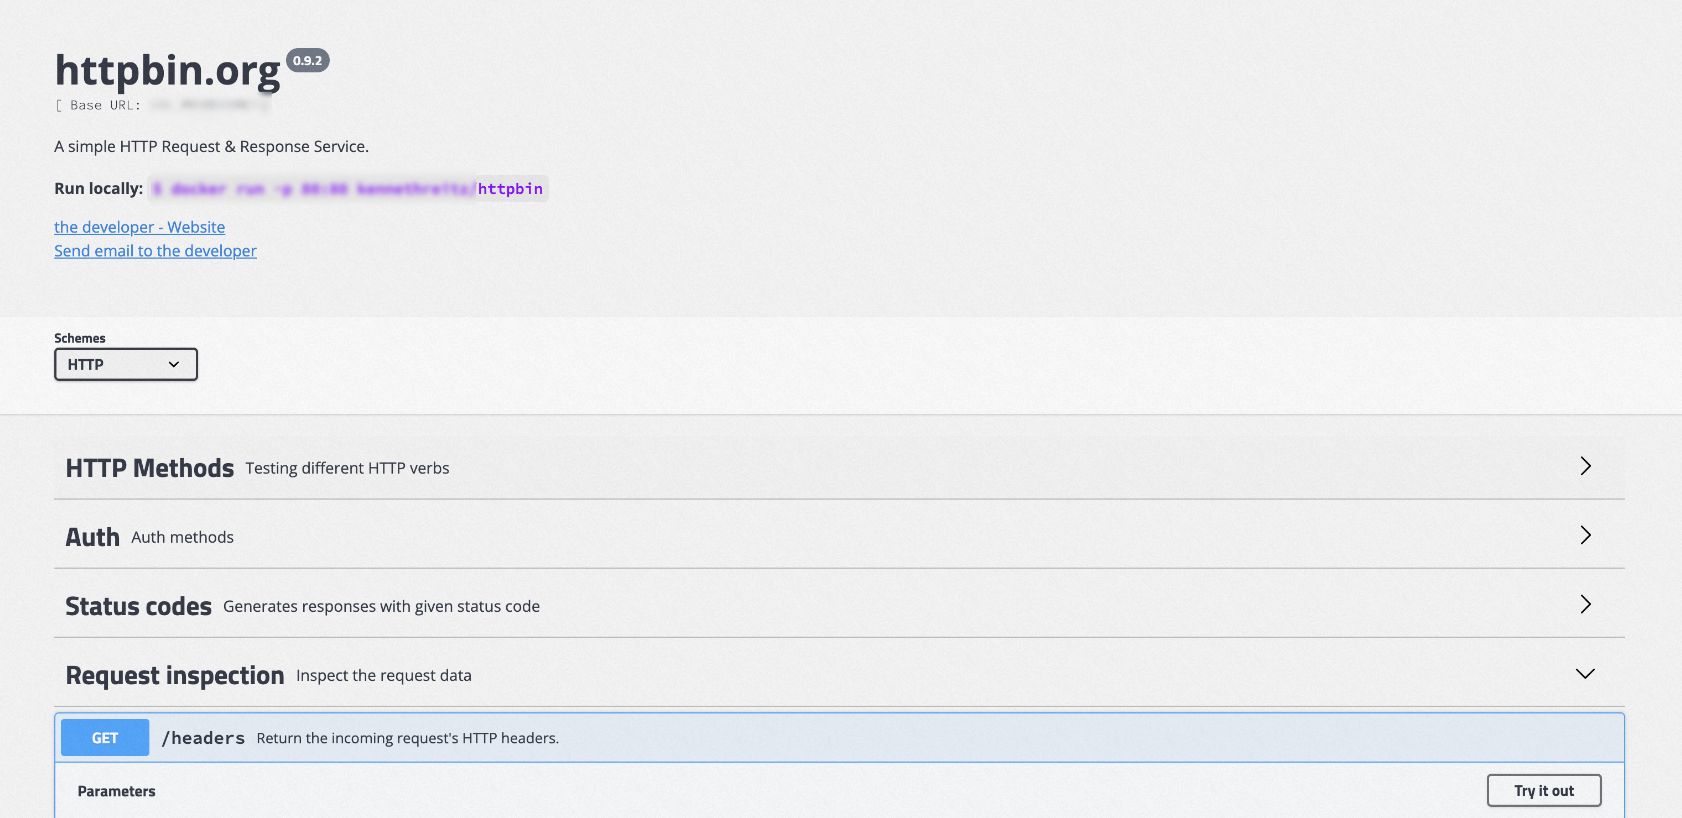
Click Request inspection and then choose .
Expected result:
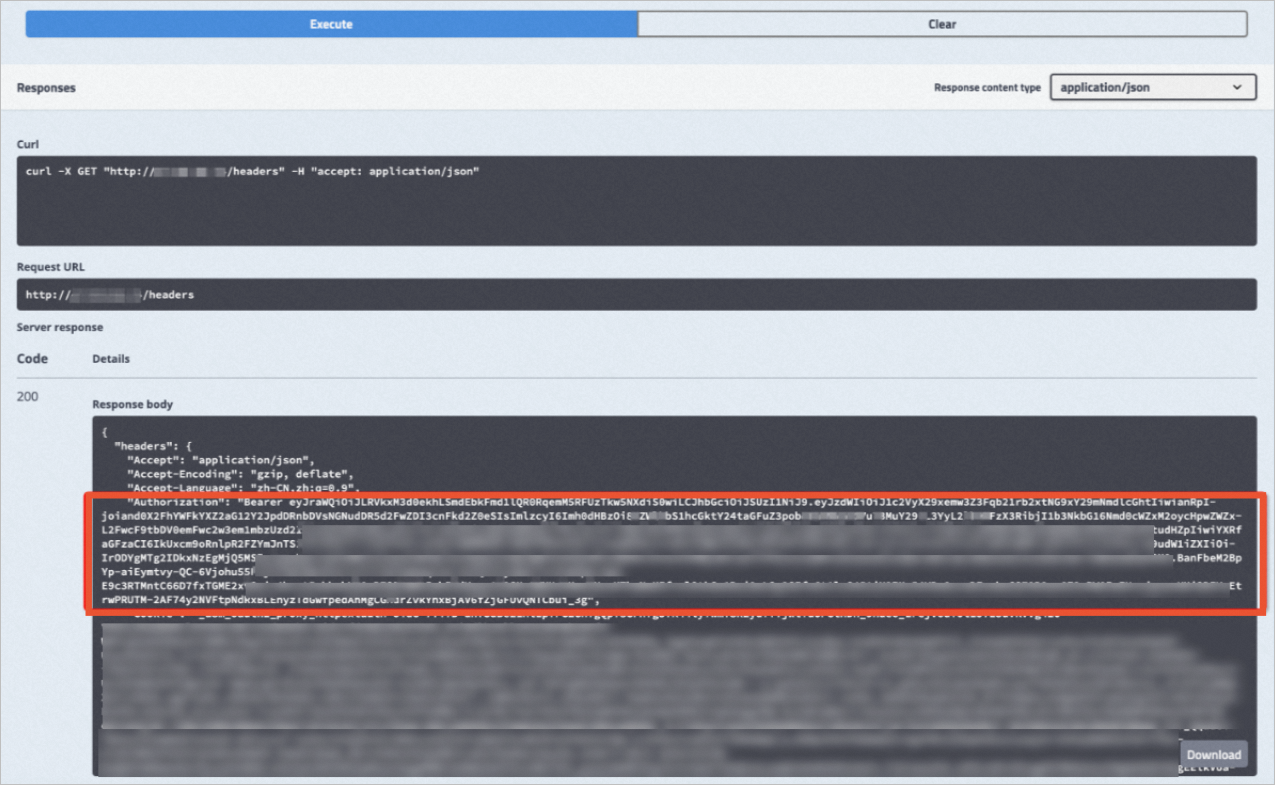
Parse the JSON Web Token (JWT) in JWT Debugger. The JWT is used to authenticate the request and is displayed after Bearer in the response returned in the preceding step.
For more information about JWT Debugger, see the JWT official website.
Expected result:
 Information in the preceding figure appears after the JWT is parsed, including the user information stored in IDaaS. The JWT is verified by ASM.