Dify workflow applications need scheduling to automate tasks in scenarios such as risk monitoring, data analytics, content generation, and data synchronization. Dify does not provide native scheduling. Integrate XXL-JOB, a distributed task scheduling platform, to schedule and monitor workflow applications and help ensure stable operation.
How it works
XXL-JOB connects to a published Dify workflow through its API. Once configured, XXL-JOB triggers the workflow on your defined schedule, tracks each execution, and alerts on failures or timeouts.
The integration takes three steps:
-
Create a Dify environment: Create an ACK cluster, install ack-dify, and publish a workflow application.
-
Create and configure a scheduling instance: Create an XXL-JOB instance, group tasks into an application, and connect to your Dify workflow API.
-
Test the integration: Run the task once and verify execution details.
Key features
| Feature | Description |
|---|---|
| Task support | Schedules self-hosted Dify workflows on the public network and Alibaba Cloud internal network |
| Flexible time configuration | Supports cron, fixed_rate, fixed_delay, one_time, and API-based scheduling with second-level precision; includes timezone and custom calendar settings |
| Enterprise-grade alerts and monitoring | Integrates with CloudMonitor for contact and contact group management; supports failure, timeout, and success alerts at task level, plus threshold-based alerts at application and instance levels; notifies via SMS, phone, webhook, and email |
| Observability and scheduling dashboard | Visualizes scheduling trends, success rates, and failure rates at instance and application levels |
| Execution history | Records status, basic information, input and output parameters, duration, and token usage for each execution |
| Event tracking | Logs workflow-level and node-level events for each schedule; supports drill-down into loops, iterations, and conditional branches |
Prerequisites
Before you begin, ensure you have:
-
An Alibaba Cloud account with ACK activated and authorized. See Quick creation of an ACK managed cluster.
-
An XXL-JOB scheduling instance (engine version 2.2.0 or later). If not, create one in step 2.
Step 1: Create a Dify environment
|
1. Deploy the Dify environment Use one-click deployment to install ack-dify and enable public network access. Note
This guide uses public network access for demonstration. For production, enable Resource Access Management (RAM) to protect your data. If you are new to ACK, click One-click deployment to create the runtime environment. This deploys Dify with Helm using the ack-dify template from the ACK App Marketplace. Important
Before one-click deployment, activate and authorize ACK.
After ack-dify is installed, proceed to the next step. |
|
|
2. View the external IP address Go to Network > Services > ack-dify and set the namespace to dify-system. Copy the External IP of ack-dify and open it in your browser. |
|
|
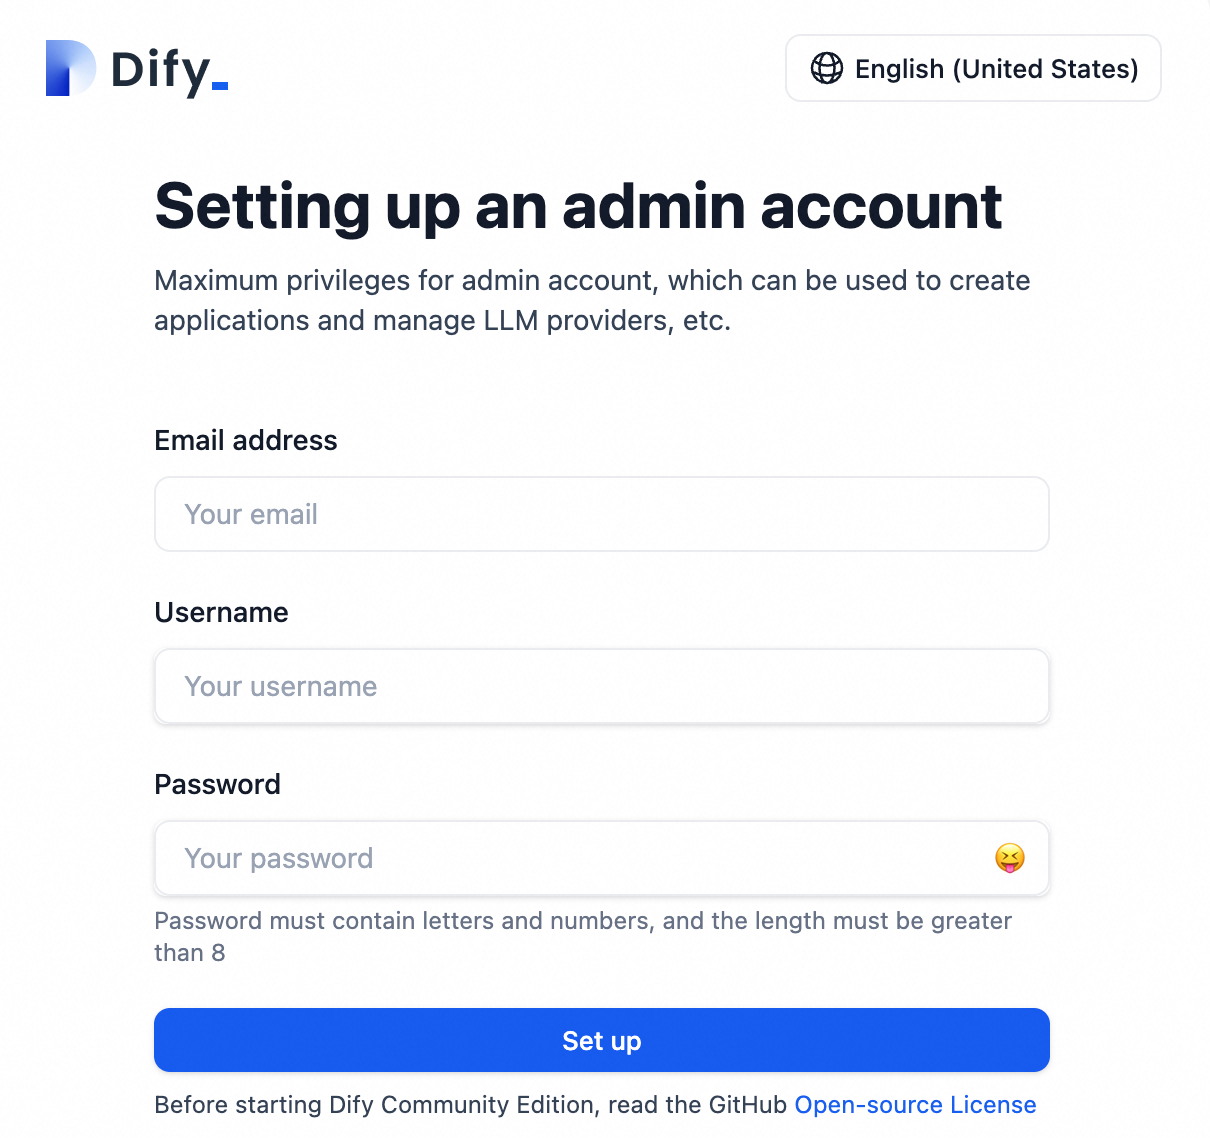
3. Register the Dify service On the Dify setup page, configure an admin account with email, username, and password. |
|
|
4. Create a Dify workflow application Import the sample dify-flow.yml into Dify to quickly build and publish a workflow for testing. Important
XXL-JOB supports only Dify workflow applications, not chat-type applications. |
|


Step 2: Create and configure a scheduling instance
|
1. Create an instance Log on to the XXL-JOB console, select a Region from the top menu bar, and set the Instance Name and VPC ID. Verify the engine version is 2.2.0 or later. Click Buy Now. |
|
|
2. Create an application Applications group related tasks into independent scheduling units. On the XXL-JOB instance page, click Task Management for the target instance. In the left navigation pane, select Application Management, then click Create Application.
|
|
|
3. Create a task A task defines the business logic to schedule. Bind it to a task executor registered with the application's AppName. Note
Create the application before creating a task. Without one, the executor cannot register.
|
|
|
4. Configure task parameters After publishing the Dify workflow, click API Access to get the task parameters.
|
|


Step 3: Test the integration
|
1. Run a test task Go to Task Management and click Run Once to trigger the task and verify scheduling. |
|
|
2. View scheduling details Go to Execution List and click Details to confirm successful execution. |
|
|
3. Review execution details Click Details to view:
|
|


Disclaimer
Dify on ACK is a Helm-based deployment that adapts the open-source Dify project for the ACK environment, enabling rapid deployment. ACK does not guarantee the operation of the Dify application itself or its compatibility with other ecosystem components, such as plugins and databases. ACK does not provide compensation or other commercial services for business losses caused by defects in Dify or its ecosystem components. Follow open-source community updates and proactively fix issues to ensure the stability and security of your Dify deployment.