Capture .hprof heap dumps that persist across OOM pod restarts by mounting a CNFS-backed NAS volume.
Prerequisites
Ensure the following:
-
A CNFS-managed NAS file system is provisioned.
-
A Container Registry Enterprise Edition instance is created.
Usage notes
Set the JVM max heap below the pod memory limit. Keep -Xmx below the pod memory limit. If the JVM heap hits the pod limit first, the Linux OOM killer terminates the pod before the JVM can write the dump.
Use a dedicated CNFS for heap dumps. A single OOM event can produce a multi-gigabyte .hprof file that may exhaust shared quota and disrupt operations.
Sync the File Browser image before you start. docker.io/filebrowser/filebrowser:v2.18.0 may fail to pull due to network restrictions. Sync it to your ACR Enterprise Edition instance by subscribing to images from outside China:
| Field | Value |
|---|---|
| Artifact source | Docker Hub |
| Source repository coordinates | filebrowser/filebrowser |
| Subscription policy | v2.18.0 |
After syncing, configure password-free image pulling between the ACR Enterprise Edition instance and your ACK cluster.
Deploy the Java application
Deploy a Java Deployment with CNFS-backed storage as the heap dump destination. The sample image registry.cn-hangzhou.aliyuncs.com/acs1/java-oom-test:v1.0 runs Mycode with an 80 MiB heap limit.
The Deployment uses subPathExpr: $(POD_NAMESPACE).$(POD_NAME) to create per-pod subdirectories inside the shared NAS volume, preventing pod restarts from overwriting each other's dumps.
subPathExpruses round brackets —$(POD_NAME)— not curly brackets. Values come from the Downward API environment variablesPOD_NAMEandPOD_NAMESPACE.
cat << EOF | kubectl apply -f -
apiVersion: apps/v1
kind: Deployment
metadata:
  name: java-application
spec:
  selector:
    matchLabels:
      app: java-application
  template:
    metadata:
      labels:
        app: java-application
    spec:
      containers:
      - name: java-application
        image: registry.cn-hangzhou.aliyuncs.com/acs1/java-oom-test:v1.0
        imagePullPolicy: Always
        env:
        - name: POD_NAME          # Inject pod name via Downward API
          valueFrom:
            fieldRef:
              apiVersion: v1
              fieldPath: metadata.name
        - name: POD_NAMESPACE     # Inject pod namespace via Downward API
          valueFrom:
            fieldRef:
              apiVersion: v1
              fieldPath: metadata.namespace
        args:
        - java
        - -Xms80m                         # Minimum heap size
        - -Xmx80m                         # Maximum heap size (keep below pod memory limit)
        - -XX:HeapDumpPath=/mnt/oom/logs  # Write heap dumps to the CNFS-backed mount
        - -XX:+HeapDumpOnOutOfMemoryError # Trigger heap dump on OOM
        - Mycode
        volumeMounts:
        - name: java-oom-pv
          mountPath: "/mnt/oom/logs"
          subPathExpr: $(POD_NAMESPACE).$(POD_NAME)  # Round brackets, not curly brackets
      volumes:
      - name: java-oom-pv
        persistentVolumeClaim:
          claimName: cnfs-nas-pvc
---
kind: PersistentVolumeClaim
apiVersion: v1
metadata:
  name: cnfs-nas-pvc
spec:
  accessModes:
    - ReadWriteMany
  storageClassName: alibabacloud-cnfs-nas
  resources:
    requests:
      storage: 70Gi  # If directory quota is enabled, limits the subdirectory to 70 GiB
---
EOF
Verify the OOM event
Once the Deployment starts, Mycode allocates memory until the JVM exhausts the 80 MiB heap and triggers OOM. The pod restarts, and ACK records a back-off restarting alert in Event Center.
To confirm the OOM occurred:
-
Log on to the ACK console. In the left navigation pane, click Clusters.
-
Find your cluster and click its name. In the left navigation pane, choose Operations > Event Center.
-
Check the events list for a
back-off restartingalert on thejava-applicationpod.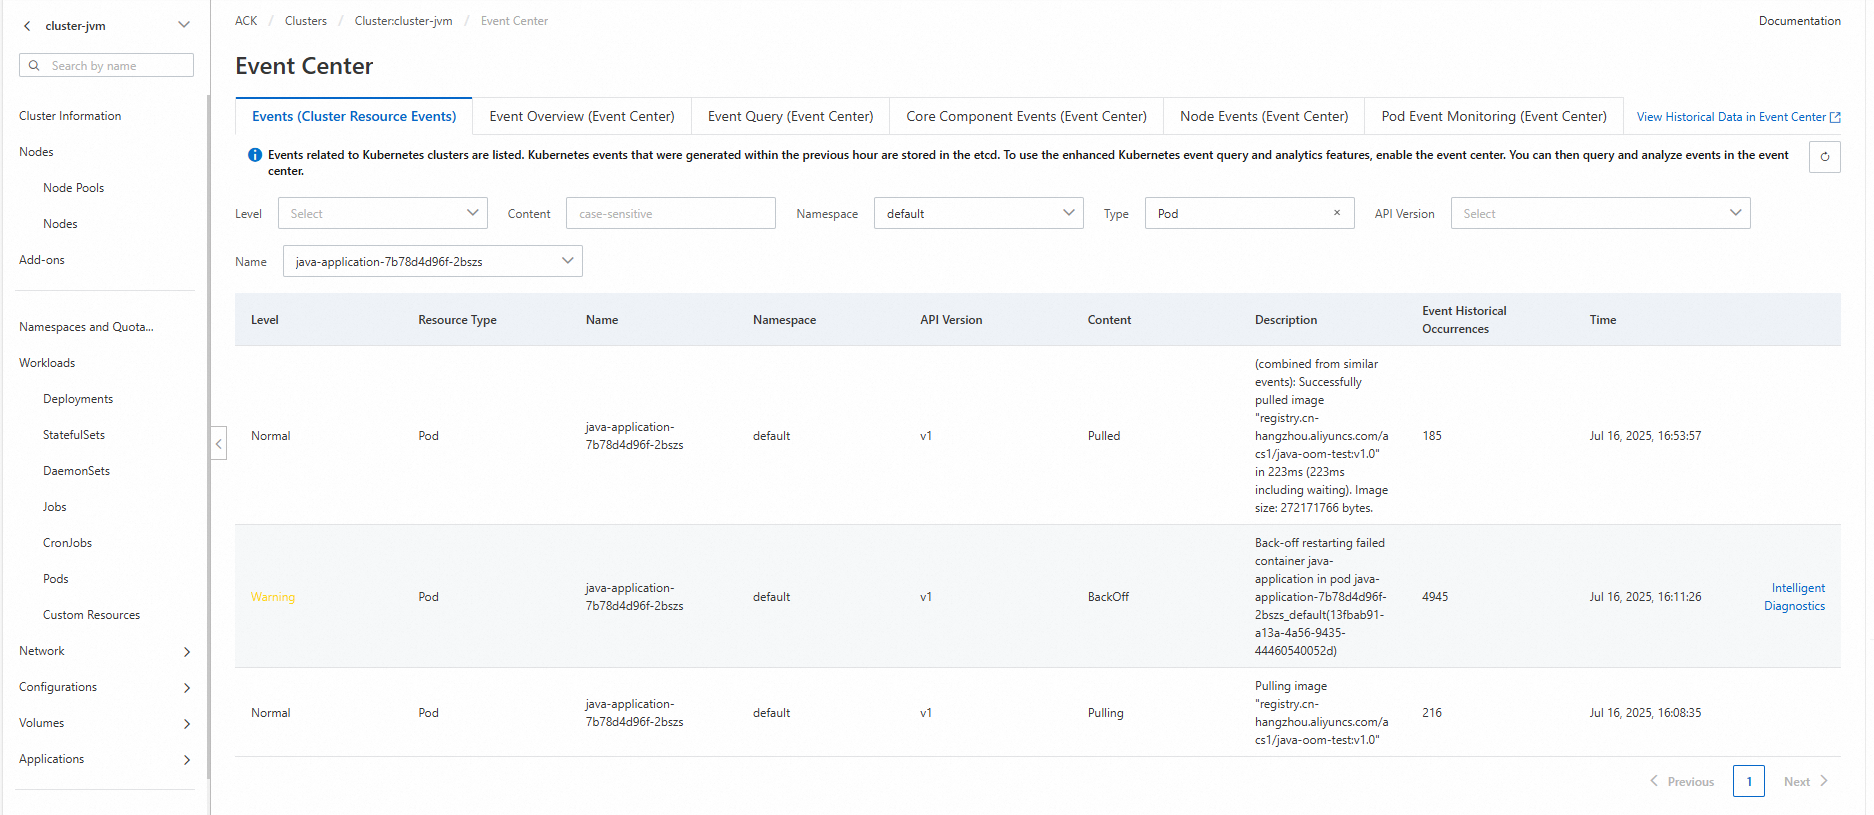
Browse the heap dump files
Deploy File Browser with the same CNFS PVC mounted at rootDir to browse and download heap dumps.
Deploy File Browser
cat << EOF | kubectl apply -f -
apiVersion: v1
kind: ConfigMap
metadata:
  name: filebrowser
  namespace: default
  labels:
    app.kubernetes.io/instance: filebrowser
    app.kubernetes.io/name: filebrowser
data:
  .filebrowser.json: |
    {
      "port": 80,
      "address": "0.0.0.0"
    }
---
apiVersion: apps/v1
kind: Deployment
metadata:
  name: filebrowser
  namespace: default
  labels:
    app.kubernetes.io/instance: filebrowser
    app.kubernetes.io/name: filebrowser
spec:
  replicas: 1
  selector:
    matchLabels:
      app.kubernetes.io/instance: filebrowser
      app.kubernetes.io/name: filebrowser
  template:
    metadata:
      labels:
        app.kubernetes.io/instance: filebrowser
        app.kubernetes.io/name: filebrowser
    spec:
      containers:
      - name: filebrowser
        # Replace with your ACR image address after syncing filebrowser/filebrowser:v2.18.0
        image: XXXX-registry-vpc.cn-hangzhou.cr.aliyuncs.com/test/test:v2.18.0
        imagePullPolicy: IfNotPresent
        ports:
        - containerPort: 80
          name: http
          protocol: TCP
        volumeMounts:
        - mountPath: /.filebrowser.json
          name: config
          subPath: .filebrowser.json
        - mountPath: /db
          name: rootdir
        - mountPath: /rootdir
          name: rootdir
      volumes:
      - name: config
        configMap:
          name: filebrowser
          defaultMode: 420
      - name: rootdir
        persistentVolumeClaim:
          claimName: cnfs-nas-pvc  # Same PVC as the java-application Deployment
EOF
Expected output:
configmap/filebrowser unchanged
deployment.apps/filebrowser configured
Create a Service
-
Log on to the ACK console. In the left navigation pane, click Clusters.
-
Find your cluster and click its name. In the left navigation pane, choose Network > Services.
-
On the Services page, select the
defaultnamespace and click Create. Configure the following parameters:See NLB billing overview.
Parameter Value Name filebrowserService type SLB > SLB type: CLB. Select Create Resource, then set Access method to Public Access. Backend Click +Reference Workload Label. Set Resource type to Deploymentsand Resources tofilebrowser.Port mapping Service port: 8080, Container port:80, Protocol:TCP -
Submit the configuration.
Access File Browser
-
Copy the endpoint address from the Services page.
-
Open
<endpoint-address>:8080in a browser. The File Browser login page appears. -
Log in with the default credentials: username
admin, passwordadmin.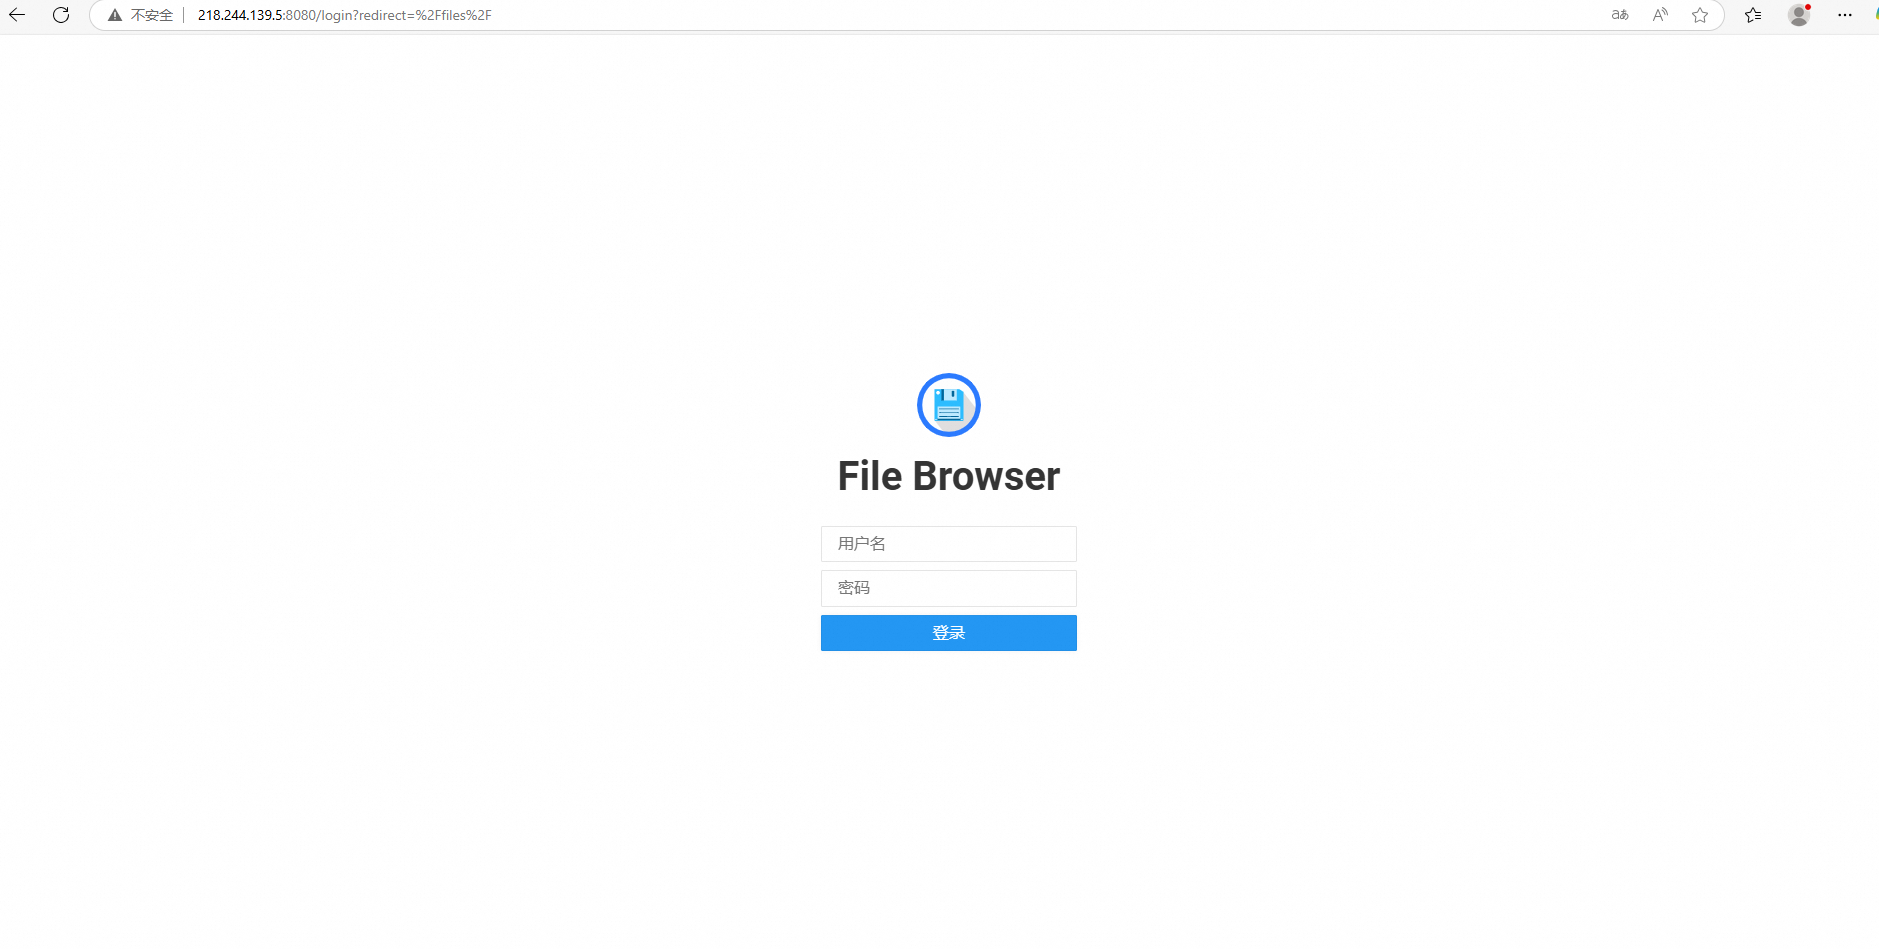
-
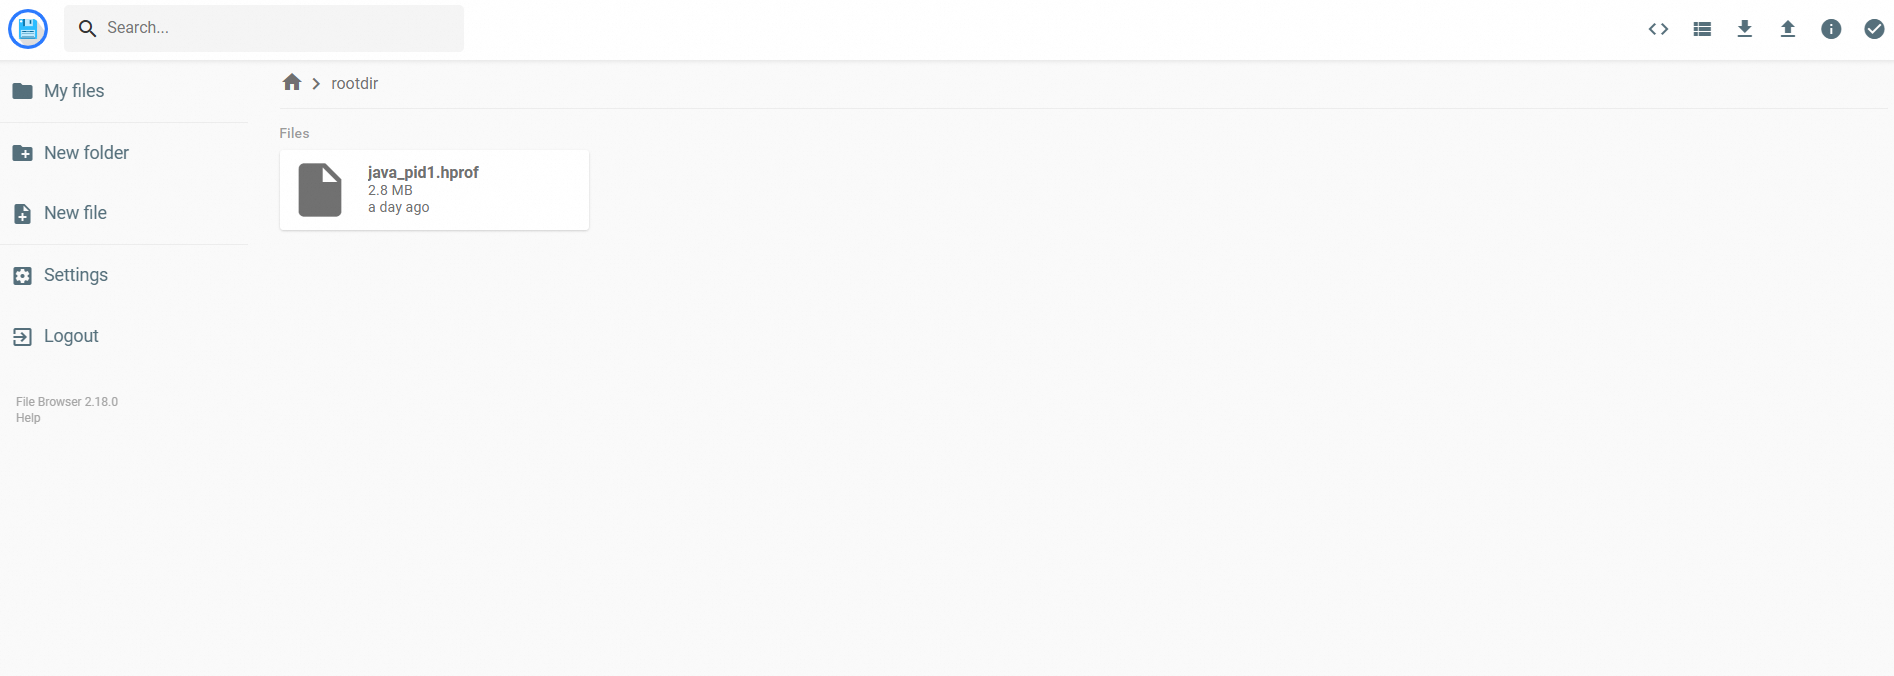
Double-click rootdir to enter the NAS mount point.
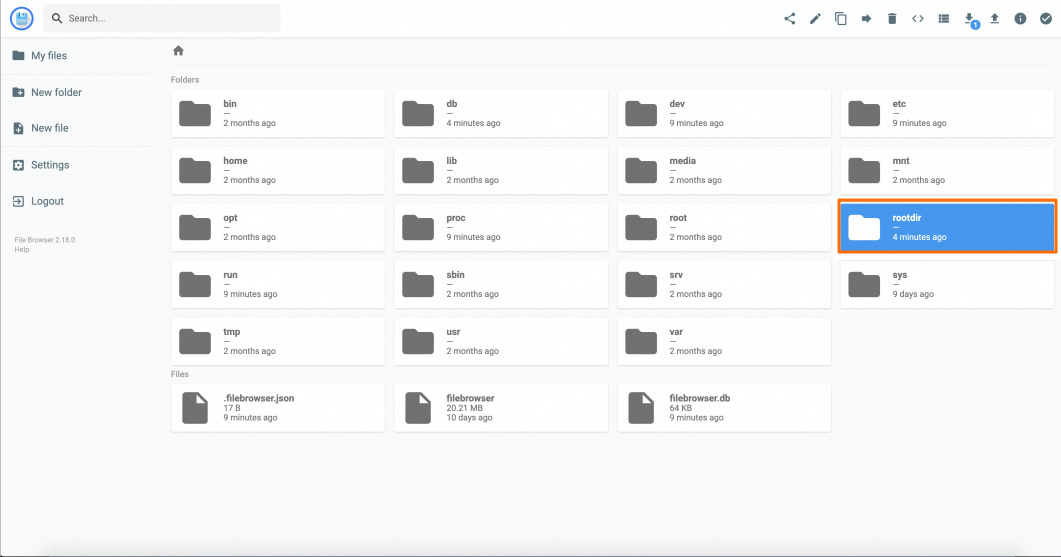
Result
Inside rootdir, each pod's dump directory is named by the subPathExpr: $(POD_NAMESPACE).$(POD_NAME) rule — for example, default.java-application-76d8cd95b7-prrl2.
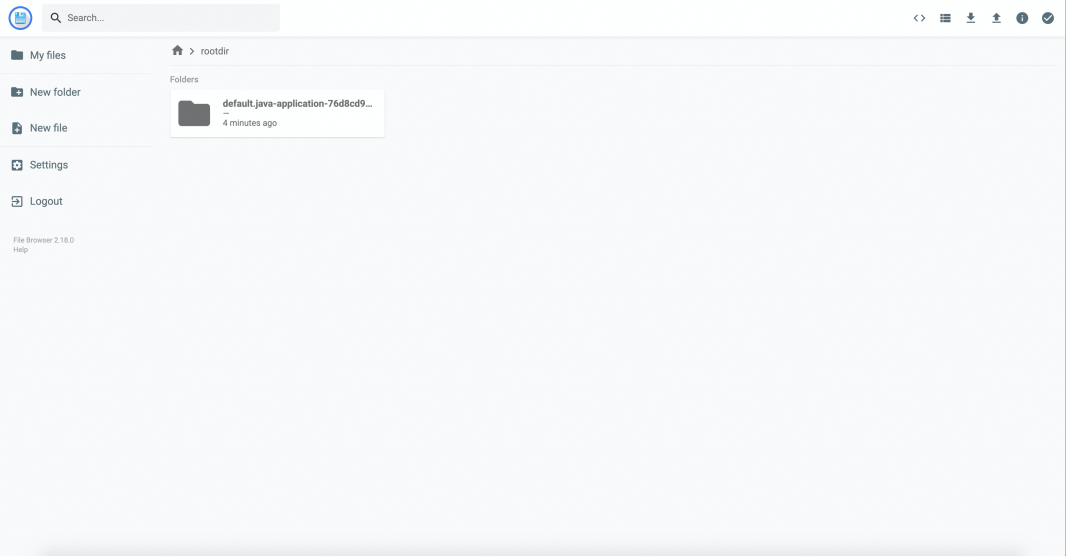
Open the directory to find java_pid1.hprof. Download and analyze it with Eclipse Memory Analyzer (MAT) to identify the code that caused the OOM.
How it works
Three mechanisms cooperate to persist heap dumps across pod restarts:
-
CNFS PVC with `ReadWriteMany`: The NAS-backed PVC mounts into both the
java-applicationand File Browser pods. NAS persists files independently of pod lifecycle, so dump files survive pod crashes. -
`subPathExpr` with Downward API: Each pod mounts into its own subdirectory (
<namespace>.<pod-name>) rather than the NAS root, preventing restarts from overwriting dumps and making it easy to trace dumps to pods. -
`-XX:+HeapDumpOnOutOfMemoryError`: The JVM writes the heap state to
-XX:HeapDumpPathbefore exiting on OOM. Because that path is NAS-backed, the file survives the pod exit.