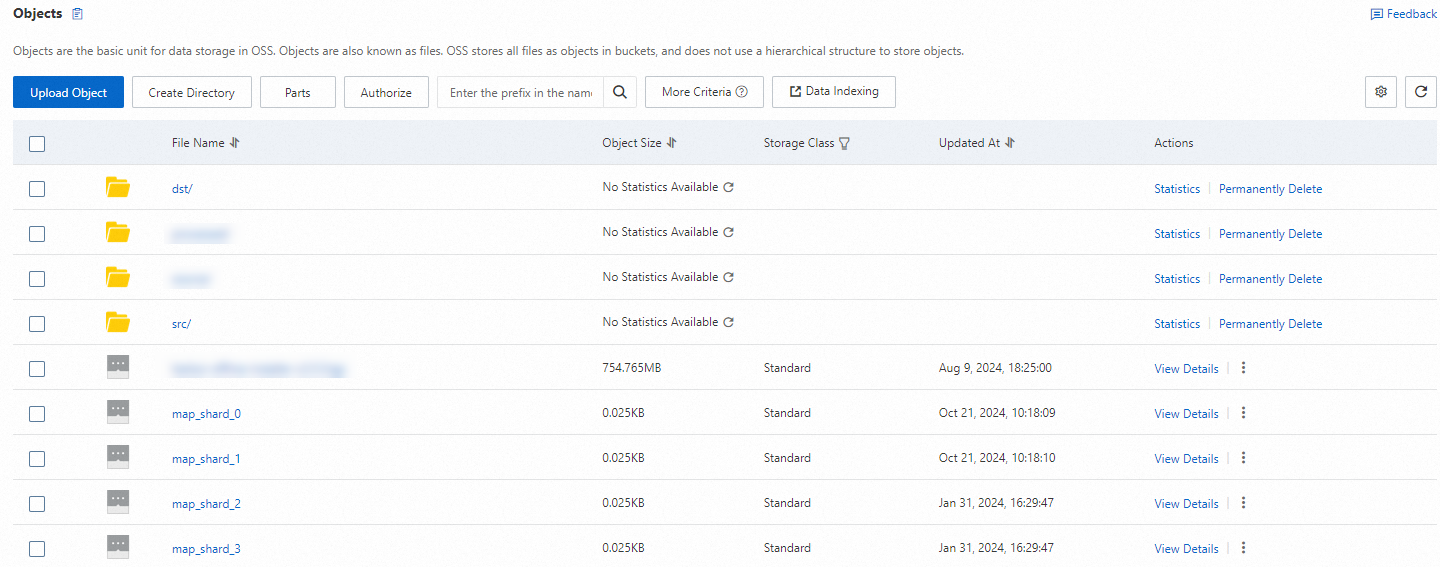
CloudFlow orchestrates extract, transform, load (ETL) pipelines as serverless workflows. Combined with Function Compute, it processes data in parallel without provisioning or managing servers -- you pay only for the compute time each function consumes.
Why serverless ETL
A single script can handle small ETL jobs, but it runs on one machine. Throughput is limited to that machine's resources, and a mid-process failure can leave data in a partially processed state.
Adding a message queue and multiple workers improves throughput and reliability, but introduces operational overhead: you must provision the queue, manage concurrency, and handle retries.
CloudFlow eliminates this overhead. It distributes work across parallel Function Compute instances, tracks the state of each step, and retries failed tasks automatically. Define the workflow logic; CloudFlow and Function Compute supply the infrastructure.
This approach works well when:
Data processing tasks run on irregular schedules and should consume zero resources when idle
Processing logic is a small number of custom steps that map naturally to functions
Workflows require complex branching or fan-out patterns that rigid pipeline tools cannot express
Large datasets demand high concurrency without the burden of managing worker pools
How it works
The system follows a MapReduce pattern with three stages:
Split -- Read raw data from one or more sources and divide it into shards.
Map -- Process each shard in parallel: filter, clean, and compute intermediate results, then write them to Object Storage Service (OSS).
Reduce -- Merge all intermediate results into a final output and store it in OSS.
CloudFlow orchestrates these stages as a single workflow. Function Compute runs a dedicated function for each stage: a splitter, a mapper, and a reducer.

Key terms
| Term | Definition |
|---|---|
| Shard | A partition of the raw dataset. The splitter divides data into three to five shards so the mapper can process them in parallel. |
| Mapper | A Function Compute function that filters, cleans, and computes data within a single shard. One mapper instance runs per shard, all concurrently. |
| Reducer | A Function Compute function that merges intermediate results from all mapper instances into a single final output. |
Example scenario
Suppose your raw data contains records with the value data_1 or data_2, and you want to count the occurrences of each value and store the totals in a data warehouse.
The workflow proceeds as follows:
The splitter reads the raw data and randomly partitions it into three to five shards. Each shard contains a mix of
data_1anddata_2records.The mapper runs on each shard in parallel, counts the occurrences of
data_1anddata_2within that shard, and writes the counts to an intermediate OSS directory.The reducer reads all intermediate counts, sums them across shards, and writes the final totals to OSS.
Prerequisites
Before you begin, make sure that you have:
An activated Function Compute service
An activated OSS service
An activated CloudFlow service
An OSS bucket in the region where you plan to deploy the workflow
Deploy the workflow and functions
Deploy the workflow and all three functions in a single step through the Function Compute application center.
Step 1: Open the application template
Go to ETLDataProcessing in the Serverless Devs registry and click Deploy in the Development & Experience section.
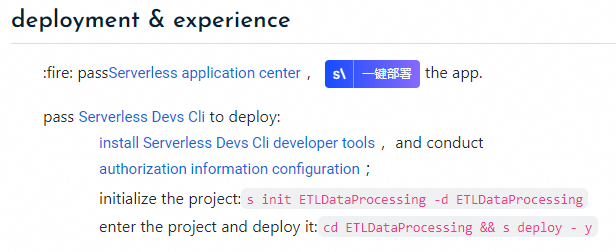
Step 2: Configure and deploy the application
On the Create Application page, configure the following parameters and then click Create and Deploy Default Environment.
Basic configurations
| Parameter | Description |
|---|---|
| Deployment Type | Select Directly Deploy. |
| Role Name | Grant the required permissions. See Authorization details for setup instructions. |
Advanced settings
| Parameter | Description |
|---|---|
| Region | The region for the deployment. Choose a region that matches your OSS bucket. |
| Workflow Execution Role | A service-linked role with the AliyunFCInvocationAccess policy attached. Create this role before deployment. |
| Function Service Role | A service-linked role that allows Function Compute to access other cloud services. If you have no specific requirements, use the default role AliyunFCDefaultRole. |
| Object Storage Bucket Name | The name of an OSS bucket in the same region as the workflow and functions. |
Authorization details
Alibaba Cloud account (first-time setup)
Click Authorize Now to open the Role Templates page.
Create a service-linked role named
AliyunFCServerlessDevsRole.Click Confirm Authorization Policy.

RAM user
Follow the on-screen instructions and copy the authorization link to the Alibaba Cloud account owner.
After the account owner completes authorization, click Authorized.

If you see the error message Failed to obtain the role, ask the Alibaba Cloud account owner to attach the AliRAMReadOnlyAccess and AliyunFCFullAccess policies to your RAM user. For details, see Grant permissions to a RAM user by using an Alibaba Cloud account.
Step 3: Confirm deployment
Deployment takes 1 to 2 minutes. The system creates three functions and a workflow named etl-data-processing-2q1i:
| Resource | Role in the pipeline |
|---|---|
shards-spliter | Reads raw data, splits it into shards, and returns the shards to the workflow. |
mapper | Filters, cleans, and computes data within each shard. Runs one instance per shard in parallel. Each instance writes results to an OSS directory. |
reducer | Merges results from all mapper instances and writes the final output to OSS. |
To verify the resources were created:
Open the Function Compute console and confirm that three functions exist.
Open the CloudFlow console and confirm that the
etl-data-processing-2q1iworkflow exists.
All sample code is available in the Function Compute application center and the CloudFlow console.
Verify the results
Log on to the CloudFlow console and select the region where you deployed the workflow.
On the Workflows page, click the
etl-data-processing-2q1iworkflow.Click the Execution Records tab, then click Started Execution.
After the execution completes, review the workflow input and output to confirm that data was processed correctly.
Log on to the OSS console and inspect the shard data and merged result.