应用在升级过程中或升级完成后,发现新版本应用有问题或异常,可以回滚应用,待问题解决后再升级。本文介绍如何使用EDAS控制台回滚应用。
背景信息
在应用升级过程中,出现部署包不可用、健康检查失败等异常报错会导致应用升级失败,当前应用变更会自动终止并回滚。
如果您发现新版本应用有问题或异常,可以手动回滚应用,有以下两种场景。
- 升级中回滚:可以终止升级变更流程并回滚应用。
- 升级后回滚:可以通过部署历史版本回滚应用。
升级中回滚
本示例以在手动模式的分批发布变更过程中回滚应用为例。当您需要分批发布应用时,可优先考虑使用手动模式。手动模式的分批发布更加可控,当前面批次发布完成之后,可以验证新版本应用的正确性,以决定下一批次是否继续发布。
- 经验证,新版本应用符合预期,则手动确认继续下一批次的发布。
- 经验证,新版本应用存在异常问题,则可以回滚应用。待修复问题后,再重新发布应用。
升级后回滚
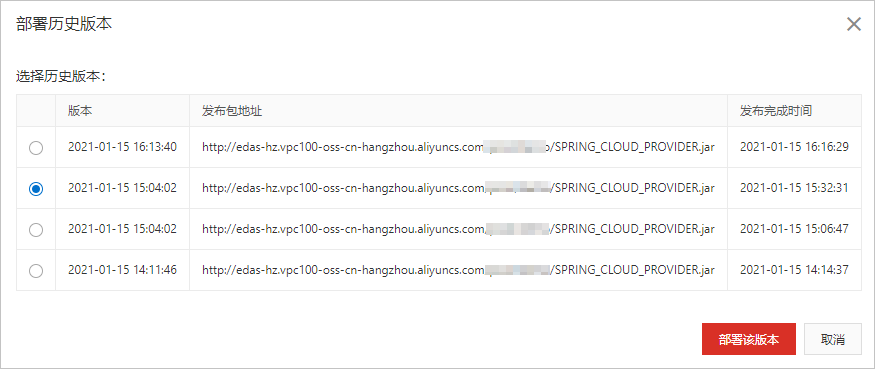
本示例以完成分批发布升级应用后,通过部署历史版本回滚应用为例。
- 在部署历史版本对话框,选择目标版本,单击部署该版本。