This topic describes how to smoothly migrate a Web application to Function Compute on the Function Compute console. In contrast to traditional deployment methods, you can skip the steps such as purchasing an ECS instance and deploy traditional applications to the cloud for production purposes. In the meantime, features such as elastic scaling, pay-as-you-go, and O&M-free are offered.
Prerequisites
Step 1: Create a Web application
- In the left-side navigation pane, choose .

- Configure the Web application according to the configuration wizard on the page.
- In the wizard, set Basic Information on the first page. Then, click Next.
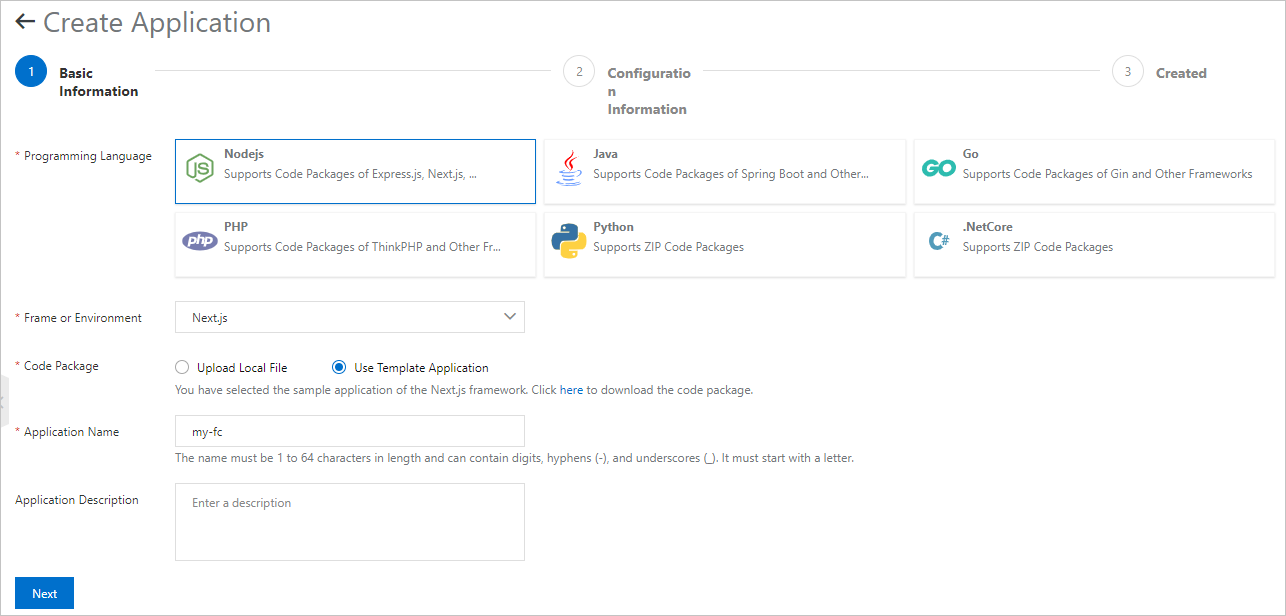
Parameter Description Example Language Select the language type you need. Nodejs Framework /Environment Select the framework or runtime. Next.js Code Package Select a deployment package. - Upload program: Upload your local application code package.
- Use sample program: Use the system provided code package.
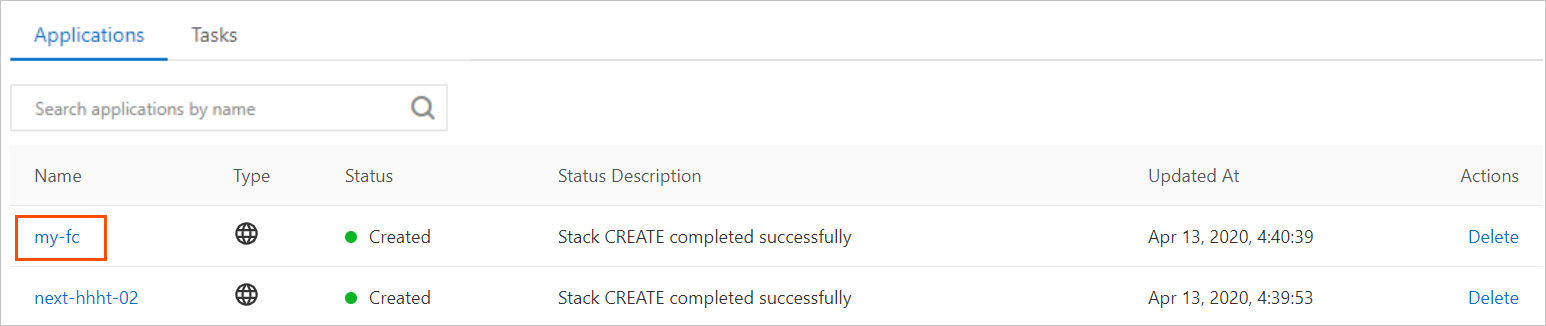
Use sample application Application Name The name of the application. my-fc
- In the wizard, set Basic Information on the first page. Then, click Next.
- On the application deployment progress page, click OK.
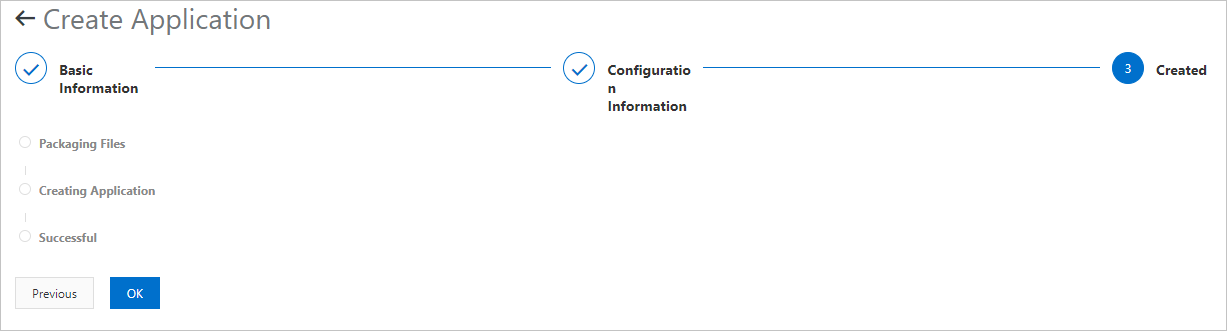 You can see the prompt that the application is being created on the current page. You can view the created events on the application details page. You can also click application Event t to view.Note When the system packages and processes the files, do not close the page. Otherwise, the application fails to be created.
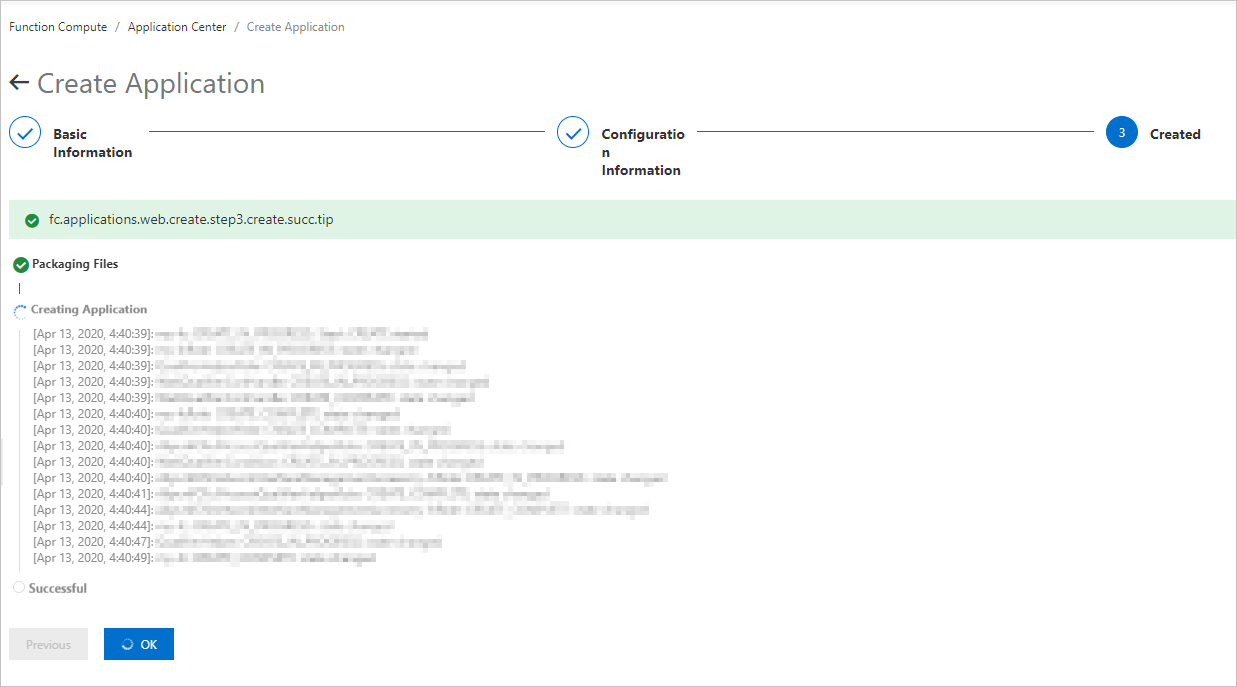


Step 2: Access the application
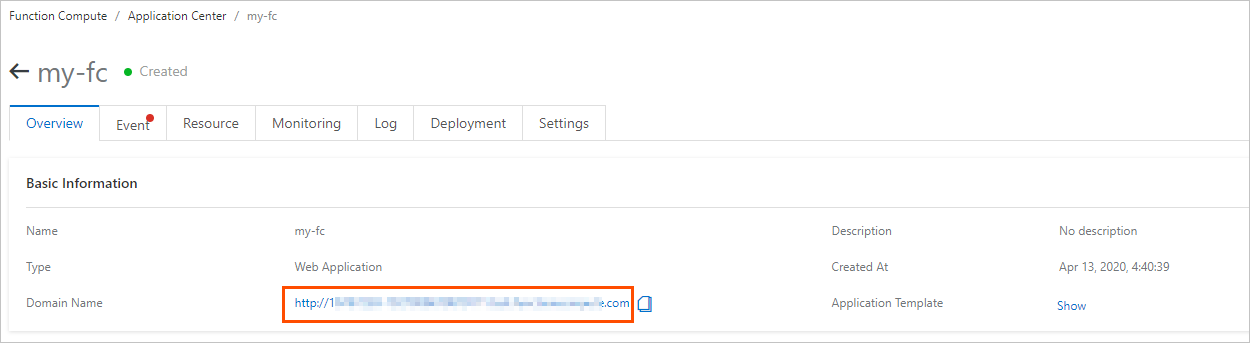
- Go to the application Overview page.
After the application is created successfully, it is automatically redirected to the Overview page, where you can view the basic information about the created application.
If you have exited the Overview page, you can re-enter by following the steps below:- In the left-side navigation pane of the Function Compute console, click Application Center.
- On the Application List tab, locate the target application, and then click the application name.
- Click the domain name in the Basic Information area to access the current application.