By Sai Sarath Chandra, Alibaba Cloud Community Blog author
The continuous advancements in the audio and video communication systems pave a way for rapid growth of e-teaching/learning models. Distance learning facilitates education even at remote locations where there are no proper resources. Additionally, it drastically brings down the cost of education.
Initially, Learning Management Systems (LMSs) served the educational sector, but currently the corporate sector is the major service segment. LMS mainly identifies the training and learning gaps, utilizing analytical data and reports. These systems not just deliver online classes, but also serve as a platform for skill assessment and surveys.
Chamilo is one of the easiest e-learning platforms to use. It makes it easier for educators around the world to digitize and formalize their course content, and allows easy access to quality education.
This tutorial explores how to set up Chamilo LMS on Alibaba Cloud Elastic Compute Service (ECS) with Ubuntu 16.04 (64-bit) system image installed.
If you don't know how to set up ECS instance, refer to this tutorial or a quick-start guide.
Access the ECS instance via Putty using the following details.
IP: ECS Instance Internet IP Address
Port: 22
Username: Root
Password: Provided at run time
For any Linux devices like Macintosh/Ubuntu, log in using SSH as shown below.
ssh root@149.129.ABC.XYZ
The authenticity of host '149.129.ABC.XYZ (149.129.ABC.XYZ)' can't be established.
ECDSA key fingerprint is SHA256:tyuWLYqL7IwGNdvD8e3THTSMyHlNPkMBdCkMf5D/ifw.
Are you sure you want to continue connecting (yes/no)? yes
Warning: Permanently added '149.129.ABC.XYZ' (ECDSA) to the list of known hosts.
root@149.129.ABC.XYZ's password:
Enter the password to proceed.
Welcome to Ubuntu 16.04.4 LTS (GNU/Linux 4.4.0-117-generic x86_64)

 * Documentation:  https://help.ubuntu.com
 * Management:     https://landscape.canonical.com
 * Support:        https://ubuntu.com/advantage

Welcome to Alibaba Cloud Elastic Compute Service!First, let's install Curl to download the packages from several sources. Run the command below to install Curl.
root@CHAMILO:~# sudo apt-get install curl
Next, update the current packages by running the below command.
sudo apt update
Also, run the following command to install the popular Apache2 HTTP server to ensure that Chamilo functions properly.
sudo apt install apache2
After installing the Apache2, execute the commands below to start, enable and stop system services.
sudo systemctl start apache2.service
sudo systemctl enable apache2.service
sudo systemctl stop apache2.service
Note: Omit the sudo command in case a root user is already running.
The home page of Ubuntu appears once you hit the internet IP address of the ECS instance.
Next, install the database [MariaDB] for Chamilo by executing the following command.
sudo apt-get install mariadb-server mariadb-client
Refer to the following service commands to control MariaDB post-installation.
sudo systemctl start mysql.service
sudo systemctl enable mysql.service
sudo systemctl stop mysql.service
Refer to the following service commands in the case of Ubuntu 17/18 LTS versions.
sudo systemctl start mariadb.service
sudo systemctl enable mariadb.service
sudo systemctl stop mariadb.service
Initiate the server installation process by running the following command.
sudo mysql_secure_installation
Executing the preceding command prompts to create a root password. Make sure you save the password, to avoid performing the whole process again.
On receiving the prompt, follow the guide below to answer the questions.
Restart the server using the command below.
sudo systemctl restart mariadb.service
Login into the system using the following command and input the password.
sudo mysql -u root -p
Enter password:
Next, install some software packages for the Chamilo to work.
Add the third party repository for the upgrade.
sudo apt-get install software-properties-common
sudo add-apt-repository ppa:ondrej/php
Update the PHP packages by running the command below.
Sudo apt updateNext, run the commands below to install PHP 7.2 and related modules.
sudo apt install php7.2 libapache2-mod-php7.2 php7.2-common php7.2-sqlite3 php7.2-curl php7.2-intl php7.2-mbstring php7.2-xmlrpc php7.2-mysql php7.2-gd php7.2-xml php7.2-cli php7.2-ldap php7.2-apcu php7.2-zipNow update the PHP configuration by executing the following command.
sudo nano /etc/php/7.2/apahe2/php.iniUpdate the configuration values as shown below.
file_uploads = On
allow_url_fopen = On
short_open_tag = On
memory_limit = 256M
upload_max_filesize = 100M
max_execution_time = 360
date.timezone = Asia/Kolkata
Run the commands below to restart Apache2.
Sudo systemctl restart apache2.service
Create phpingo.php in the Apache2 root directory to verify the PHP installation by running the command below.
sudo nano /var/www/html/phpinfo.phpAlso, update the content as shown below.
<?php phpinfo( ); ?>Refer to this link: https://<ECS-INTERNET-IP>/phpinfo.php to confirm the configuration and navigate to the default page.
After installing all the required packages, now create the database for Chamilo to work.
Login to MariaDB before creating a database as shown below.
sudo mysql -u root -pNext, create a database for Chamilo by running the command below.
CREATE DATABASE chamiloCreate a username and password to access the DB.
CREATE USER 'chamilo'@'localhost' IDENTIFIED BY 'chamilo';Grant full access permissions to the user by executing the following commands.
GRANT ALL ON chamilo.* TO 'chamilo'@'localhost' IDENTIFIED BY 'chamilo' WITH GRANT OPTION;
SLUSH PRIVILEGES;
EXIT;Move to the /tmp folder and download the Chamilo packages from GitHub by running the commands below.
cd /tmp && wget https://github.com/chamilo/chamilo-lms/releases/download/v1.11.6/chamilo-1.11.6-php7.zip
unzip chamilo-1.11.6-php7.zip
sudo mv chamilo-1.11.6 /var/www/html/chamilo
Now run the commands below to provide the root folder permissions.
sudo chown -R www-data:www-data /var/www/html/chamilo/
sudo chmod -R 755 /var/www/html/chamilo/
Configure the Chamilo LMS site to the domain/IP address instead of the php.ini file as shown below.
sudo nano /etc/apache2/sites-available/chamilo.conf
Create or update the file with the following content.
<VirtualHost *:80>
     ServerAdmin admin@example.com
     DocumentRoot /var/www/html/chamilo
     ServerName 0.0.0.0

     <Directory /var/www/html/chamilo/>
          Options FollowSymlinks
          AllowOverride All
          Require all granted
     </Directory>

     ErrorLog ${APACHE_LOG_DIR}/error.log
     CustomLog ${APACHE_LOG_DIR}/access.log combined

</VirtualHost>
Save the file and exit.
Next, execute the following commands to make sure the configuration reflects in the system.
sudo a2ensite chamilo.conf
sudo a2enmod rewrite
Run the following command to restart the server.
sudo systemctl restart apache2.service
Now go to the browser and hit http://<ECS-INTERNET-IP> to navigate to the following screen.
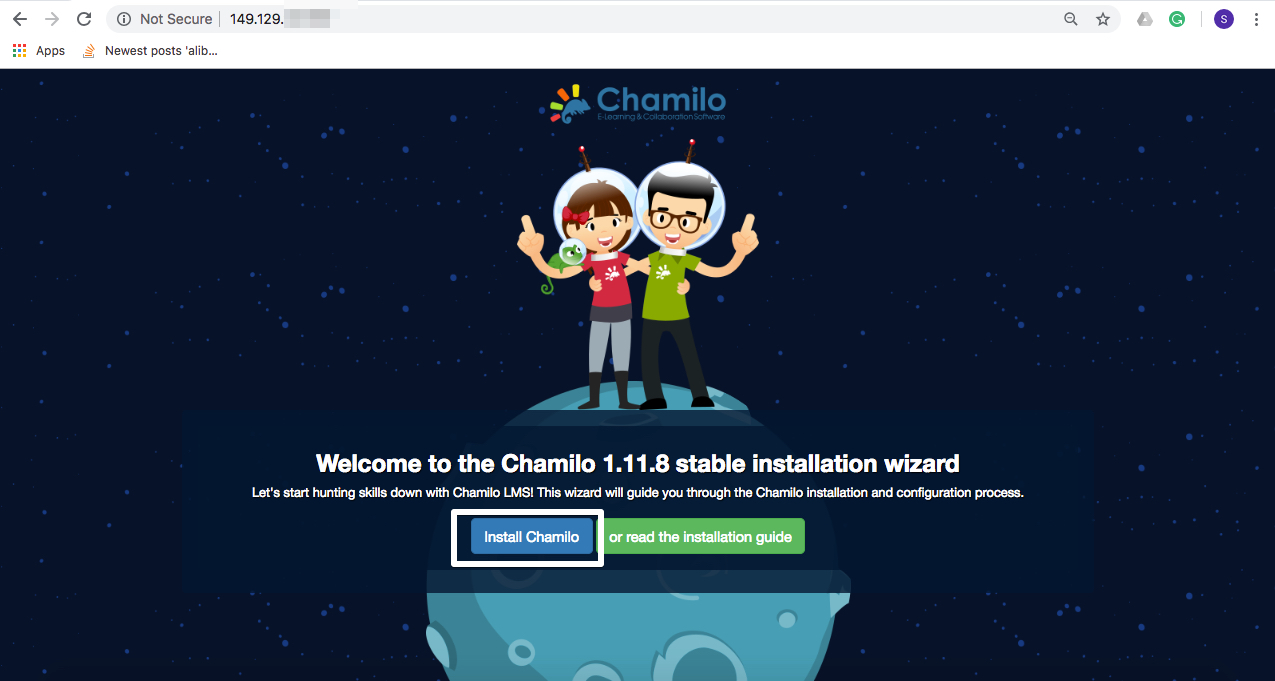
Click on. "Install Chamilo" button on the preceding screen and select the language of your choice on the next screen shown below and click "Next".
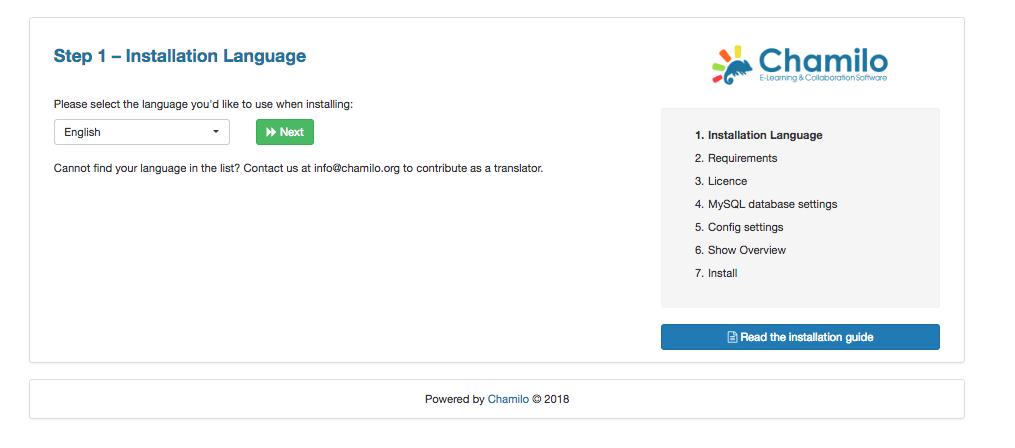
Now the system installs any requirements initially missed during the installation process.
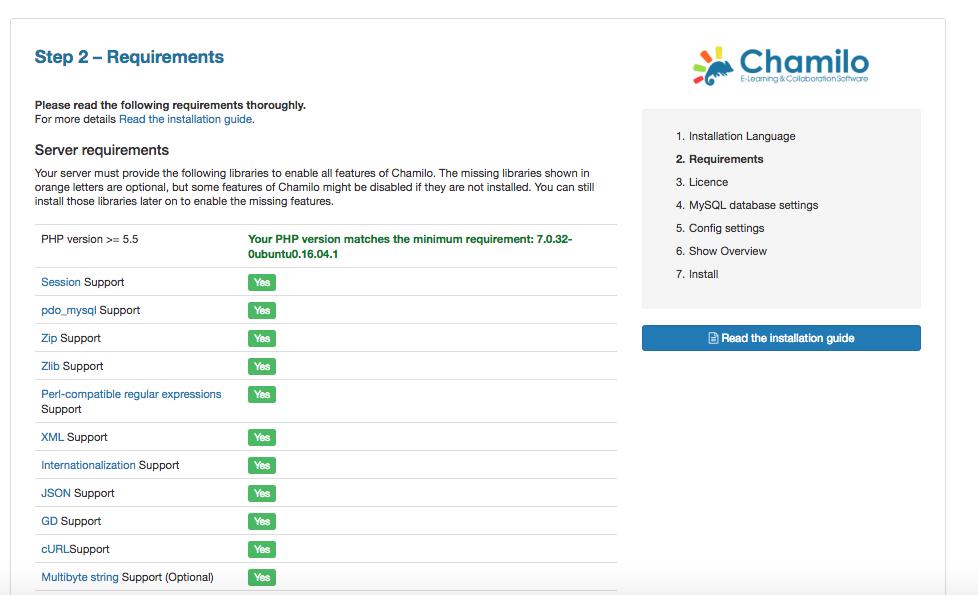
Scroll down to see the various directories and permissions respectively. Click on "New Installation" as shown below.
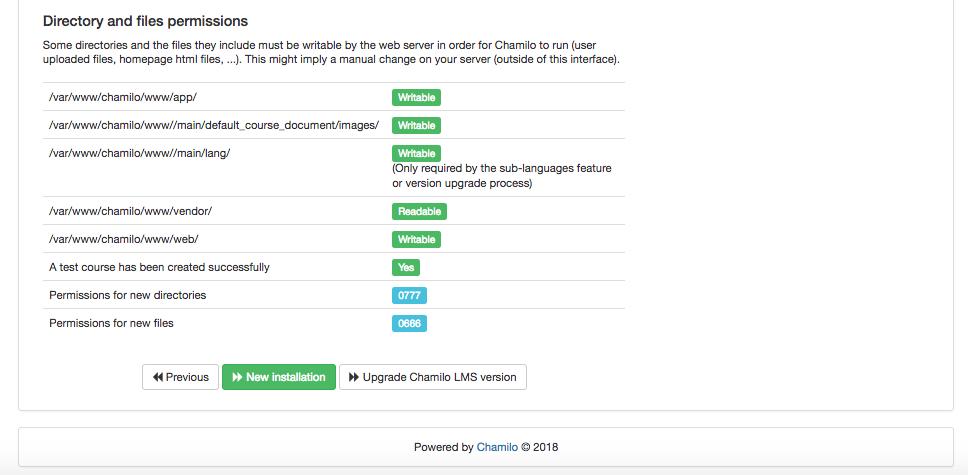
Next is the "license" section. Input all the required fields and click "Next".
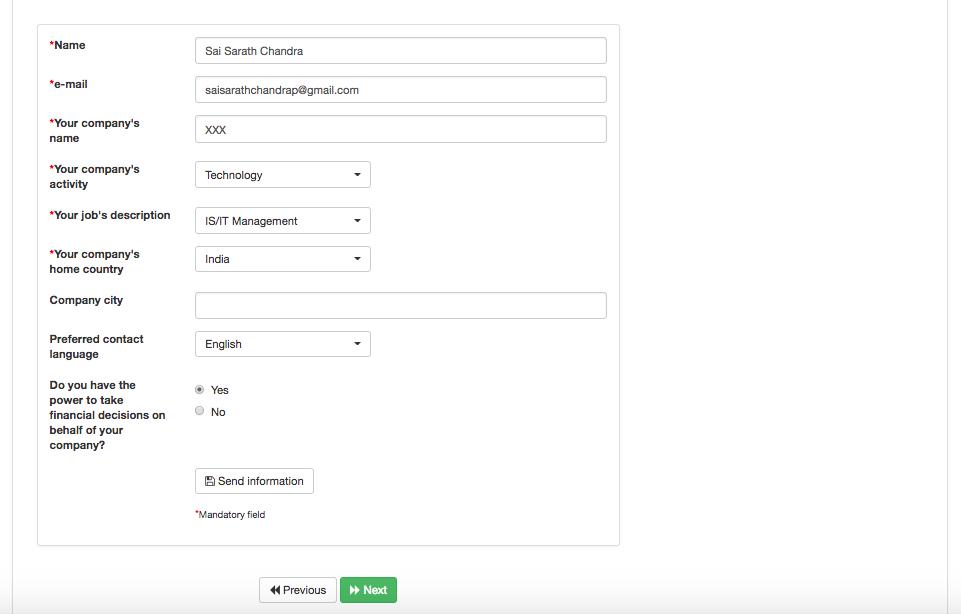
The next screen shows the MYSQL Database settings, created earlier. Update the fields with the following details.
Database Host : localhost
Port: 3306
Database Login : chamilo
Database Password : chamilo
Main Chamilo Database : chamilo
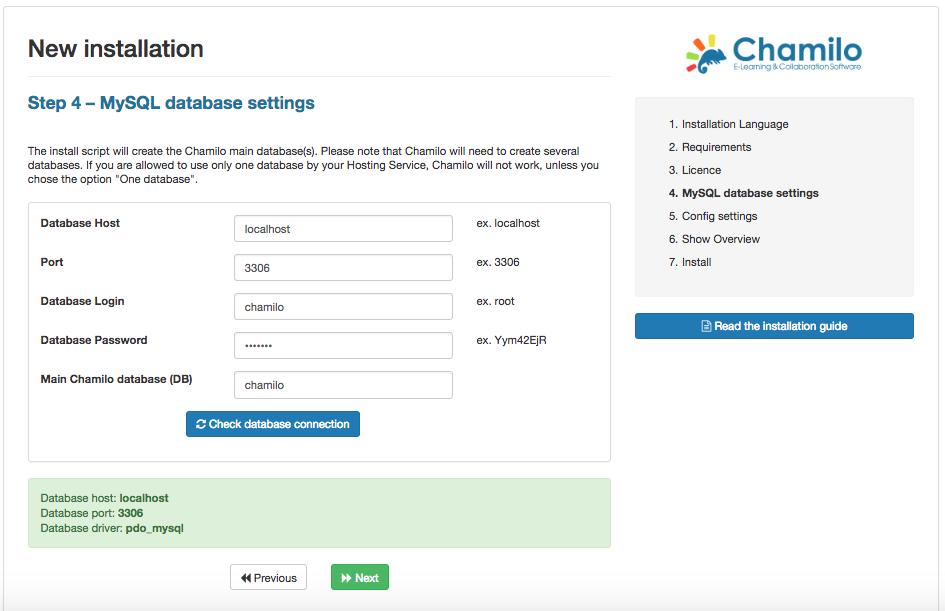
Click on the "Check Database Connection" to verify and confirm the connection parameters.
Click "Next" to navigate to the configuration settings. Now input the admin related details like login ID, password, name, email, and telephone.
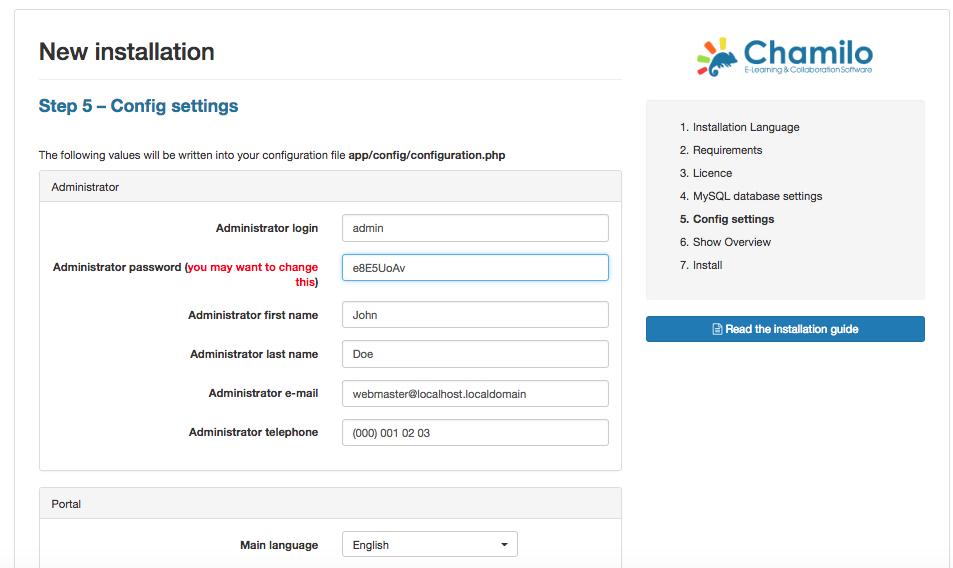
Click "Next" to navigate to the overview screen showing all the settings. Click on "Go to your newly created portal" for redirecting to the admin page
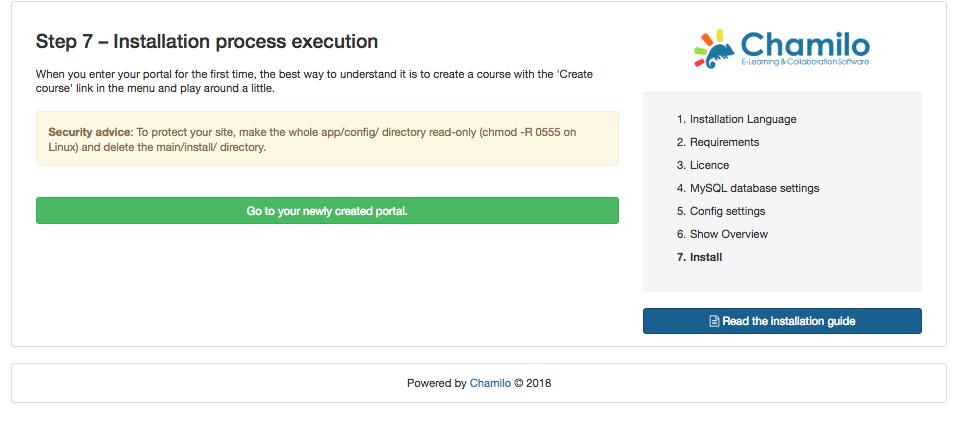
On the admin page shown below, input the admin username and the password to continue.

After successful authentication, you will be taken to the admin console panel for further operations.
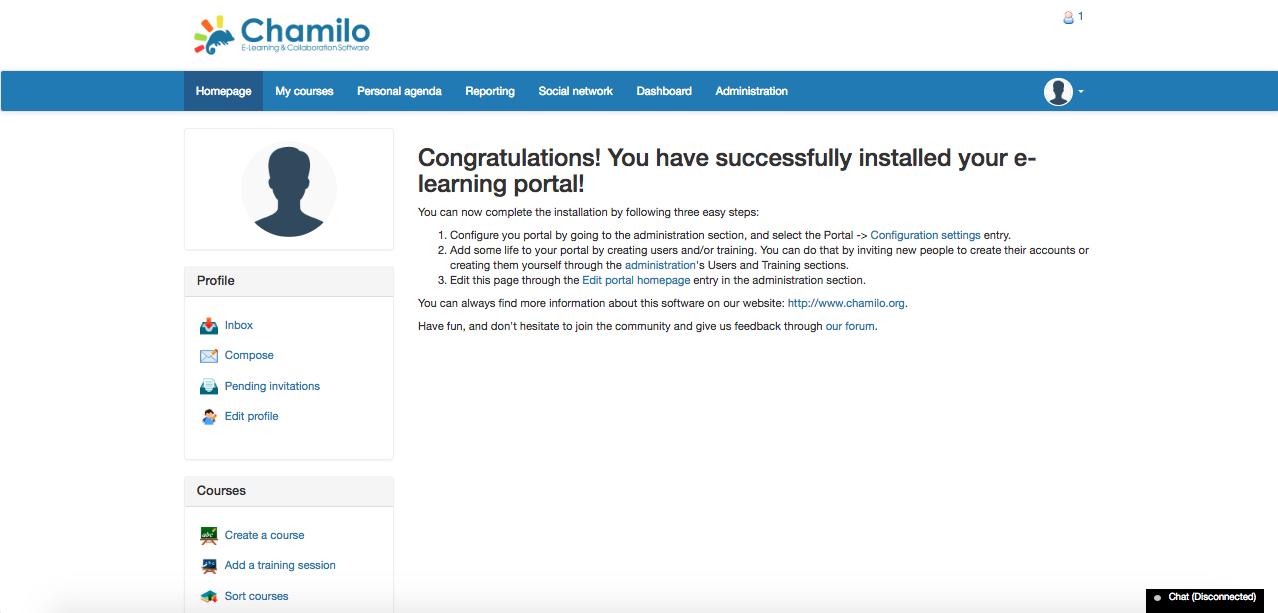
There you go! You have successfully set up the Chamilo LMS on your Alibaba Cloud ECS Ubuntu instance. Now explore it to create classes, subscriptions and do much more.

2,593 posts | 793 followers
FollowAlex - October 16, 2018
Arslan ud Din Shafiq - May 18, 2020
Data Geek - February 27, 2025
Alibaba Clouder - January 25, 2021
Justin See - November 7, 2025
Alibaba Clouder - February 13, 2021

2,593 posts | 793 followers
Follow Web Hosting Solution
Explore Web Hosting solutions that can power your personal website or empower your online business.
Learn More Platform For AI
A platform that provides enterprise-level data modeling services based on machine learning algorithms to quickly meet your needs for data-driven operations.
Learn More Web Hosting
Explore how our Web Hosting solutions help small and medium sized companies power their websites and online businesses.
Learn More ECS(Elastic Compute Service)
Elastic and secure virtual cloud servers to cater all your cloud hosting needs.
Learn MoreMore Posts by Alibaba Clouder